Mortal Shell II Open World Guide and Route Plan
Navigate Mortal Shell II with a clear plan for regions, beacons, fast travel, landmarks, optional routes, and more than 80 dungeons.
Quick answer
- Follow major landmarks, then sweep nearby branches before moving to the next region.
- Fast travel unlocks fairly early in the full game after opening progression.
- Treat beacons as local route anchors and check the destinations shown by your build.
- Enter optional dungeons when your current Shell and weapon already feel dependable.
See the Interconnected World in Motion
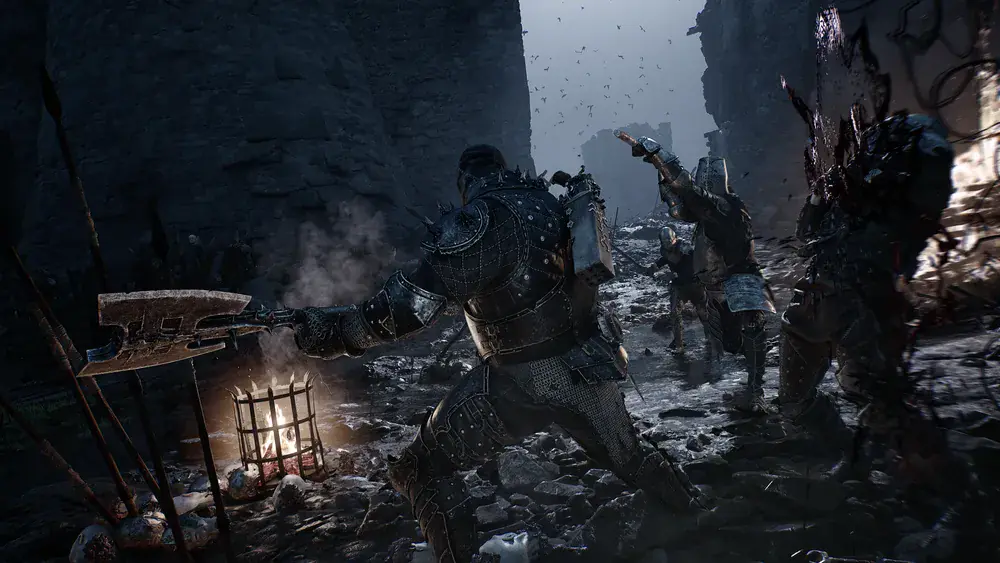
This official gameplay reveal follows three warrior Shells along separate routes, giving a clear look at the world's scale, path variety, and hostile landmarks.
Continue reading
These related Mortal Shell II pages answer the next questions around this topic.
How the Mortal Shell II Open World Works
Mortal Shell II uses an interconnected open world built around winding footpaths, recognizable landmarks, optional branches, and more than 80 dungeons. The world is deliberately compact, so efficient navigation comes from reading connections and choosing a purpose for each trip rather than trying to clear an enormous map in one sweep.
Build each outing around one primary target. Reach the next objective, landmark, or beacon first, then inspect the nearby branches while your route back is still easy to remember. Wandering can lead to Shells, story discoveries, weapons, upgrades, and curiosities, so a side path has real value when you can still place it inside a larger route.
Fast Travel and Teleportation
Fast travel unlocks fairly early in the full game. If the game has not presented the travel system yet, continue the opening progression and cleanse the beacons you naturally encounter. The open beta covered only the Prologue and one early part of the world, so its travel flow should not define your expectations for every full-game region.
Use this order when planning travel:
- Before the unlock, push toward the next clear objective and activate useful route anchors along the way.
- After the unlock, check the destinations the current map or travel interface actually offers. Do not assume that every visible beacon is immediately available as both a departure point and a destination.
- Group missed dungeons and side paths by region. One focused return trip is easier to follow than repeated journeys across the world.
- Leave a difficult branch for later when the approach is costing more time than the reward is currently worth.
Treat every cleansed beacon as the center of a small exploration loop. Even when a beacon is not functioning as the exact travel endpoint you expected, it remains a useful marker for describing where a missed branch sits relative to the main route.
Regions and Major Locations to Recognize
The published world overview identifies environment types and early landmarks more clearly than a complete list of named regions. Use the in-game map for exact regional labels while keeping these anchors in mind:
| Place or environment | What it tells you | Navigation use |
|---|---|---|
| Marrow Keep | An early progression landmark reached during the opening journey | Treat reaching and passing it as confirmation that you have moved beyond the Prologue route |
| Route toward Magdalena | The direction of the early open-world objective in the beta | Use it as the main line while learning how beacons and optional dungeons branch away from an objective |
| Derelict temples | One of the major full-world landmark types | Expect a defined structure that may contain interior routes or dungeon entrances |
| Forbidden forests | One of the announced environment types | Use distinctive vegetation and path forks to separate the main trail from side loops |
| Icy graves | One of the announced environment types | Prepare for visually compressed terrain where silhouettes and entrances may blend into the surroundings |
| Bone-carved citadels | One of the announced environment types | Read these large structures as long-range anchors when choosing a direction |
This list is a recognition guide, not a claimed full map. Exact region names, borders, and travel endpoints should come from the current in-game map because the public overview does not provide a complete atlas.
A Reliable Route Plan for Each Region
Route the world in layers: objective, checkpoint, then optional depth. This keeps exploration useful without turning every fork into a long recovery walk.
- Choose one primary goal. Pick a story objective, major landmark, known Shell, or specific dungeon before leaving your current anchor.
- Secure the route forward. Follow the clearest path until you reach a beacon, shortcut, or landmark that you can recognize on the return trip.
- Sweep nearby branches. Check short side paths while the main line is fresh in memory. Turn back when a branch becomes a separate expedition.
- Evaluate the dungeon entrance. Enter when ordinary enemies in the surrounding area feel manageable with your current Shell and weapon. Save a harder dungeon for a later regional return.
- Continue from a known anchor. Move toward the next major objective only after you can explain where your current route reconnects.
The official gameplay reveal shows three Shells taking separate paths through the same hostile world. That supports a flexible approach: route choice can follow the Shell, weapon, or objective you are currently developing, provided you keep a dependable anchor behind you.
How Dungeons Fit Into Exploration
The full world contains more than 80 dungeons scattered between its major landmarks. The open beta also establishes that some dungeons are optional and can sit alongside hidden mini-bosses and other challenges. You do not need to force every entrance the moment you find it.
Use the surrounding region as a readiness check. If nearby encounters are already draining your resources or making the return path unreliable, record the dungeon's position relative to the closest recognizable landmark and continue the main route. If the approach feels controlled, the dungeon is a sensible place to test the abilities and weapon setup you have collected so far.
When several unexplored entrances collect around one region, finish them in a single return loop. This reduces repeated travel and makes it easier to compare which branches remain incomplete.