Mortal Shell II Beginner Guide: First-Hour Priorities
Learn the best opening route, combat loop, Tar Golem plan, healing, possession, and early upgrades in Mortal Shell II.
Quick answer
- Use the Prologue to learn Perfect Guard, red-attack dodges, and the melee-to-Resolve loop.
- Losing to the Tar Golem still advances the story; reaching zero health is an optional challenge.
- Harden comes from Vatra's Seal after the Tar Golem, while the starting Seal blocks and parries.
- Activate Beacons, spend Gloom before risky routes, and return to Marrow Keep for Shell upgrades.
Mortal Shell 2: Things I Wish I Knew Before Playing
Watch a launch-week overview of Resolve, Seals, Shell ejection, healing charges, Beacons, and the split between Harbinger and Shell progression.
Continue reading
These related Mortal Shell II pages answer the next questions around this topic.
Start With This Five-Step Route
A reliable Mortal Shell II beginner route has one goal: turn every new system into a survival tool before the open world starts pulling you in several directions. Use the Prologue as a practice room, accept its scripted story beat, then make Marrow Keep and the nearest Beacon your early anchors.
- Use the festival fights to practice Perfect Guard with the starting Untarnished Seal. Dodge whenever an attack carries the red warning.
- Build Resolve with melee hits, then spend it on your Shell ability or sidearm. This is the game's basic attack economy.
- Enter the Tar Golem fight knowing that a loss advances the story. Aim for zero health only when you want the optional opening challenge.
- Follow the story to Marrow Keep, speak with the Shellkeeper, and pursue the lead to Tiel, the first Shell available after Harros.
- Activate the first useful Beacon, spend available Gloom, and use the new checkpoint before exploring a dangerous branch.
This route prevents the two most expensive early errors: repeatedly restarting a fight that is allowed to end in defeat and carrying unspent Gloom into an unfamiliar area.
Use the Combat Loop: Pressure, Break, Critical
Mortal Shell II has no stamina bar. Attacks, sprints, and dodges do not drain a shared stamina resource, yet attack recovery and enemy timing still punish careless inputs. Stay active without committing to a long string you cannot interrupt safely.
Melee hits build Resolve. Resolve then powers Shell abilities and sidearm shots. Think in a short loop: earn with a safe melee sequence, react to the enemy, then spend Resolve when a sidearm shot or ability creates a better opening than one more swing.
Enemy posture is the second half of that loop. Perfect Guards, suitable heavy pressure, sidearms, and some Shell or Seal effects can deal break damage. Empty the posture meter, then take the critical or riposte window instead of continuing a normal combo.
| Combat signal | Beginner response | Reason |
|---|---|---|
| Readable normal attack | Perfect Guard with the Untarnished Seal | Deflects the hit and creates a strong punish opportunity |
| Red attack warning | Dodge out of the attack path | The warning marks an attack that should not be blocked |
| Vatra's Seal equipped | Harden through one incoming hit | The stone state absorbs the hit and can open an immediate counter |
| Enemy posture breaks | Use the available critical response | A posture break is the payoff for sustained pressure |
| Resolve is empty | Land controlled melee hits | Retreating does not refill this combat resource |
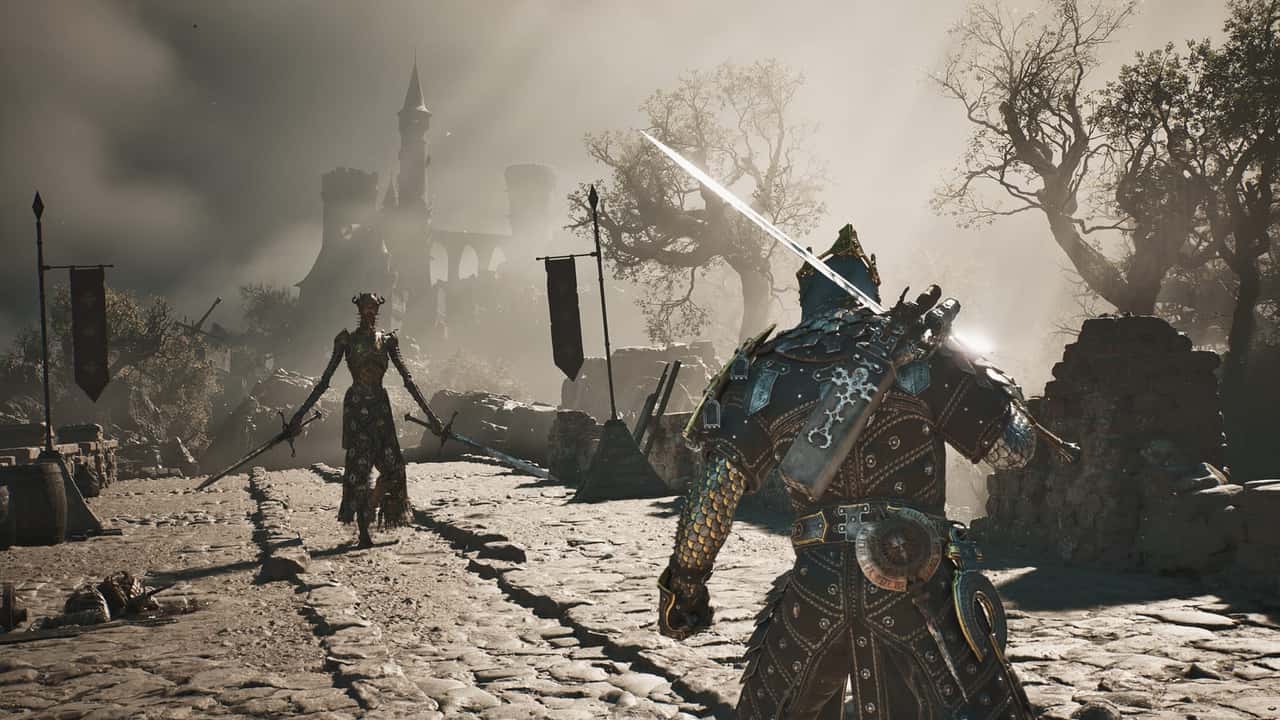
Understand Possession, Ejection, and Healing
The Harbinger is your underlying character. A Shell is a fallen warrior's body that supplies its own health, innate strengths, and signature ability. Possession changes the body you fight through; it does not replace the Harbinger's shared progression systems.
When Shell health reaches zero, the Harbinger is ejected and remains controllable. You can still attack, dodge, and use the equipped Seal. Deal enough damage to rebuild the recovery meter and re-enter the Shell. Each recovery becomes harder within the same fight, so treat ejection as a limited rescue chance.
Mether's Pulse is the refillable healing resource. It has limited charges, restores health, and refills when you rest at a Beacon. Revered Glands increase the number of charges, while Synaptic Vessels improve how much each charge heals. Create distance before using a charge because healing does not cancel an enemy's attack.
Keep these systems separate when reading a new item:
| System | What it changes | Early priority |
|---|---|---|
| Shell | Health profile and signature ability | Learn one Shell before switching for every fight |
| Seal | Guard, parry, Harden, or another defensive rule | Match the Seal to the defense you can execute consistently |
| Tarstone | Shared combat modifiers that follow the Harbinger | Equip useful finds so the setup remains available across Shells |
| Gloom | Harbinger levels at a Beacon | Spend it before a boss or an unexplored dungeon |
| Bonding and Shell abilities | Individual Shell growth at Marrow Keep | Return to the Shellkeeper after finding a Shell |
Prepare for the Tar Golem
The Tar Golem closes the Prologue and removes Harros through the story sequence. A first defeat triggers that sequence and allows the game to continue, so a normal progression run does not require a victory.
You do not have Vatra's Seal during this fight, which means Harden is unavailable. Use the Untarnished Seal you already carry. Practice Perfect Guards on attacks you can read, dodge red warnings, and keep melee strings short enough to react. Melee hits rebuild Resolve, giving you sidearm pressure when standing close becomes unsafe.
Players chasing the opening achievement have a stricter objective: reduce the Tar Golem to zero health before the defeat cutscene takes control. In the documented beta route, letting that cutscene save meant starting a new save for another achievement attempt. Story-focused players should continue after the loss and collect Vatra's Seal, which unlocks Harden for the fights ahead.
Upgrade Without Wasting Progress
Spend Gloom whenever a Beacon offers a Harbinger level and the next route looks dangerous. Death drops carried Gloom at the defeat location, and a second death before recovery removes that drop. Hoarding a level's worth of Gloom creates risk without adding power.
Shell growth follows a separate path at Marrow Keep. The Shellkeeper handles Bonding, memories, and ability development, so finding Tiel or a later Shell is a reason to return home. Gloom used on the Harbinger supports the wider build and does not consume a Shell's separate Bonding resource.
Official world guidance rewards wandering with Shells, weapons, upgrades, curiosities, and dungeons. Use that freedom in short loops: secure a Beacon, explore nearby side paths, spend Gloom, then return to Marrow Keep when you have a new Shell or upgrade material. This rhythm turns discoveries into usable power before the next major encounter.
For your first several fights, keep one familiar weapon and learn its reach, recovery, and posture pressure. Weapons and Tarstones can work across different Shell choices, so possession does not force you to abandon a moveset you understand.
Recover From Common Opening Mistakes
| Problem | What to do next |
|---|---|
| Harden does nothing | Equip Vatra's Seal after the Tar Golem; the starting Seal uses guard and parry |
| The sidearm will not fire | Return to melee and rebuild Resolve before trying another shot |
| A new Shell's upgrades look unavailable | Return to the Shellkeeper in Marrow Keep and open its Bonding and ability paths |
| You lost a Shell in combat | Keep fighting as the Harbinger until the recovery meter lets you re-enter |
| Gloom is sitting at a death marker | Retrieve it before taking another high-risk fight, then spend it at a Beacon |
| The Tar Golem defeated you | Continue through the story sequence unless you are pursuing its optional achievement |