Mortal Shell II Shells: Verified Roster and Roles
Compare the verified Mortal Shell II Shells, their combat roles, possession rules, known availability, memories, and ability progression.
Quick answer
- Mortal Shell II has eight playable Shells in its full roster.
- Tiel, Eredrim, and Proxima are the three officially named showcase Shells.
- Find a fallen warrior's remains, awaken the Shell, and possess it to use its abilities.
- Develop a Shell through its memories and ability upgrades at Marrow Keep.
Watch Three Verified Shells in Combat
The official extended showcase follows Tiel, Eredrim, and Proxima along separate paths and makes their different movement, pressure, and control styles easy to compare.
Continue reading
These related Mortal Shell II pages answer the next questions around this topic.
Verified Mortal Shell II Shell Roster
Mortal Shell II has eight playable Shells. The official gameplay showcase currently names three of them: Tiel the Acolyte, Eredrim the Venerable, and Proxima the Broodseeker. The other five roster identities and their full-game locations still need direct launch verification before they can be listed responsibly.
| Shell | Verified status | Previewed combat direction |
|---|---|---|
| Tiel the Acolyte | Discoverable in the open beta and one of the eight playable Shells | Agile movement, dodging, and attacks from favorable angles |
| Eredrim the Venerable | Named and demonstrated in the official gameplay reveal | Heavy weapons, forward pressure, and a disruptive Shoulder Bash |
| Proxima the Broodseeker | Named and demonstrated in the official gameplay reveal | Hook-based repositioning, enemy control, and a lightning follow-up |
| Five remaining Shells | Counted in the official total, with names not yet published | Their abilities, roles, and locations will become clear in the release build |
How to Find and Possess a Shell
Shells are the dormant bodies of fallen warriors scattered throughout the world. Finding one lets the Harbinger awaken and possess it, gaining that warrior's innate strengths and unique abilities. This possession system is the documented way to change playable bodies; a conventional character creator has not been announced.
The open beta explicitly lets players discover Tiel. Its official description tells you to seek his remains, possess his flesh, awaken his abilities, and uncover the secrets buried within him. It does not publish a precise route in the listing, so follow the current objective and in-game map rather than a location copied from an older build.
Eredrim and Proxima appear in the official gameplay showcase, but an appearance does not confirm where their bodies are found or when they become available. Treat every Shell name without a verified body, route, and ability set as a preview clue, then confirm the location in the release build before planning a long detour.
How the Confirmed Shells Differ
Tiel the Acolyte
Tiel is the agile option among the three verified Shells. His previewed style emphasizes swift movement, dodging, and entering from a favorable angle. Choose him when repositioning and escaping pressure matter more to you than holding the center of a fight.
Eredrim the Venerable
Eredrim is the heavy-pressure option. The showcase pairs him with large weapons and a Shoulder Bash that can stagger, break, and damage enemies. Choose him when you prefer committed attacks, direct disruption, and forcing an opening at close range.
Proxima the Broodseeker
Proxima brings a hook that can pull an enemy or move her into position, followed by a lightning attack. Choose her when controlling distance and changing the geometry of an encounter is more useful than relying on straightforward pursuit.
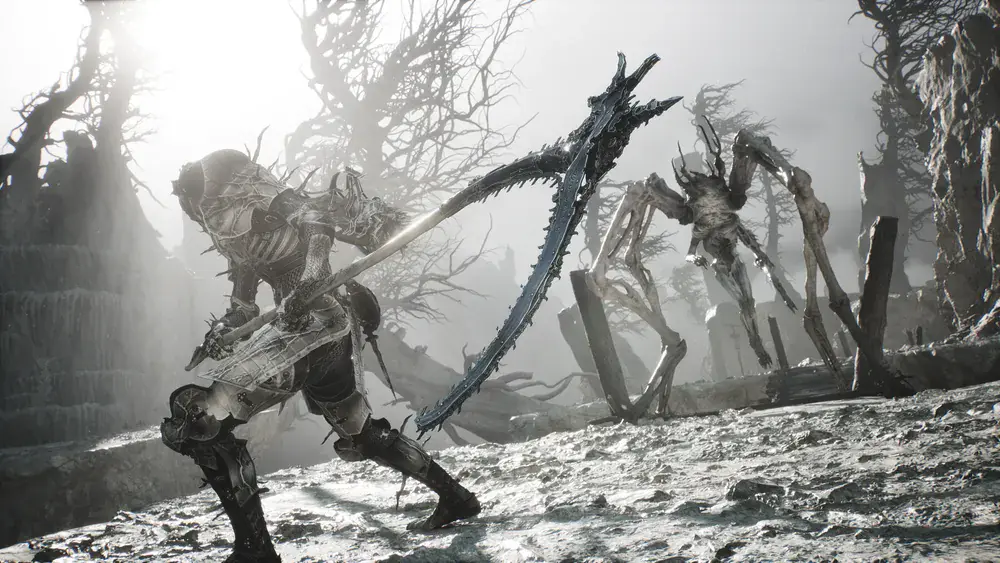
These are role summaries, not a tier list. Exact health, damage, cooldowns, upgrade values, and optimal weapons should be compared in the current release build after all eight Shells are available for direct testing.
Memories and Shell Progression
Lost memories serve two purposes. They reveal the history and secrets carried by a Shell, and they connect to developing that Shell's powers. Current launch guidance places this progression at Marrow Keep with Zhirelle, the Shellkeeper, where the Bonding system opens ability upgrades.
Use a simple progression check for every Shell:
- Test the base ability against ordinary enemies before spending time on upgrades.
- Review its available memories and ability nodes at Marrow Keep.
- Choose upgrades that improve the action you already use reliably.
- Return to the same type of encounter and confirm that the upgrade changes your practical result.
Exact costs and complete memory nodes can differ by Shell. Read those values from the current build, especially during launch updates, instead of assuming that one Shell's progression tree predicts another's.
Choosing Which Shell to Develop First
Start with the problem you most often fail to solve:
| Player need | Best verified starting fit | Reason |
|---|---|---|
| Escape pressure and attack from better angles | Tiel | His demonstrated role favors movement and evasive positioning |
| Interrupt enemies and commit to heavy offense | Eredrim | His demonstrated kit favors large weapons and disruptive pressure |
| Pull targets or rapidly change distance | Proxima | Her hook creates control and repositioning options |
| Compare the full roster before investing | Wait for verified launch data | Five playable identities still need complete names, routes, abilities, and memory trees |
Avoid choosing from appearance alone. Take the Shell through a repeatable group encounter, a durable enemy, and a situation where its signature ability should matter. The most useful first Shell is the one whose ability fixes a problem you actually face.